 Scis
ScisColour & type panels
The second dock group is about how artwork looks and reads: the panels that set colour and paint, and the two that control type. This page covers Colour, Swatches, Gradient and Stroke on the paint side, and Character and Paragraph for text.
Colour
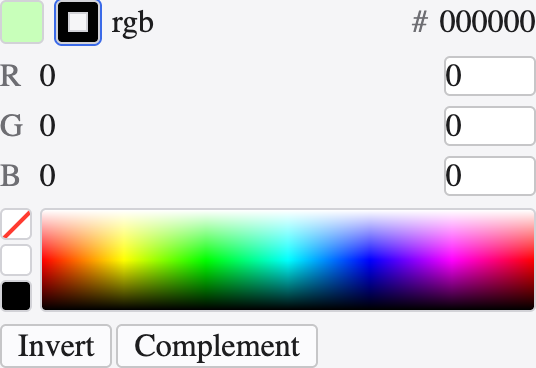
The Colour panel mixes the fill or stroke colour. The two chips at the top left set which one you are editing; the fields beside them give the exact value, as RGB, HSB, grayscale or CMYK depending on the document's colour mode, with a hex box for web colours. Drag across the spectrum at the bottom for a quick pick, or use the none, white and black chips at its left. Invert and Complement shift the current colour in one click.
Swatches
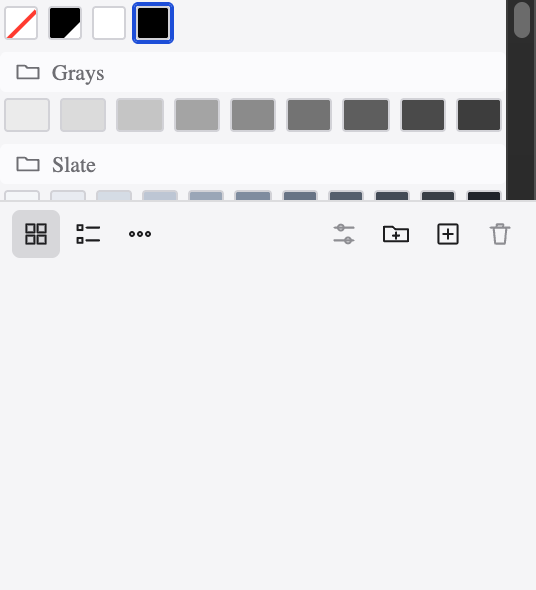
Swatches keeps the colours, gradients and patterns you want to reuse. A swatch can be global — marked with a white corner — so that editing it recolours every object that uses it at once. Swatches gather into named colour groups that fold away to keep the panel tidy. The foot of the panel switches between a grid and a list, filters what is shown, and makes new swatches, groups and folders; drop a swatch on the bin to remove it.
Gradient
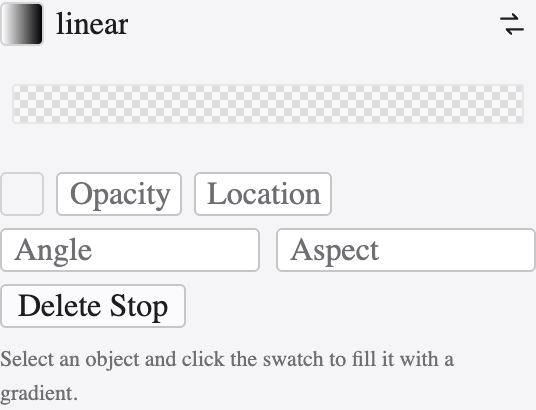
The Gradient panel builds a linear, radial or freeform blend. The ramp across the middle carries the colour stops: click below it to add one, drag to move it, and drag the diamonds above to slide the midpoint between two stops. Set the gradient type, its angle and — for radial — its aspect and origin, and give the selected stop its colour and opacity. The Gradient tool then drags the blend's direction and length straight across the artwork.
Stroke
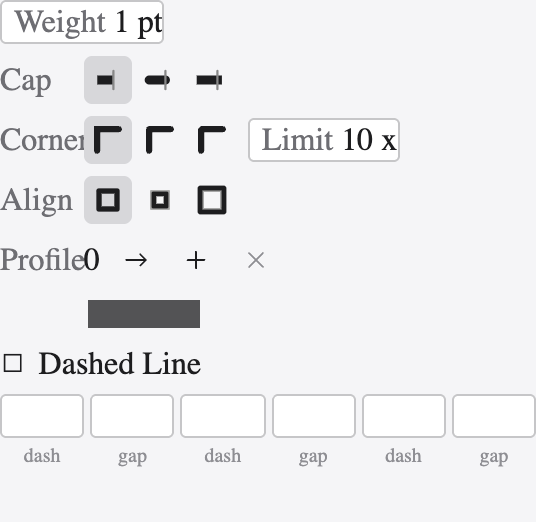
Stroke governs the line drawn along a path. Set its weight, the shape of its ends (caps) and its corners (joins), and whether it sits centred on the path or inside or outside it. Turn on dashes and give the pattern of dash and gap lengths; add an arrowhead to either end and scale it; and choose a width profile so the line swells and tapers along its length rather than staying uniform.
Character
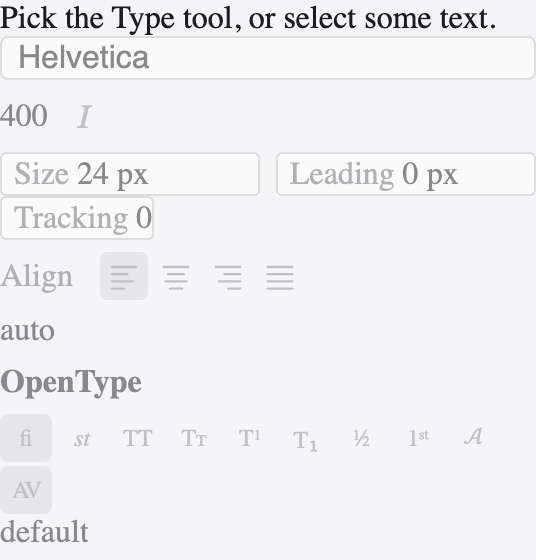
The Character panel sets type one character at a time. Choose the font and its style, the size and the leading between lines, the tracking across a run and the kerning between a pair, and stretch or shift the glyphs with horizontal and vertical scale and baseline shift. The switches along the bottom reach the case, position and OpenType features — small caps, ligatures, superscript and the rest — that a font provides.
Paragraph
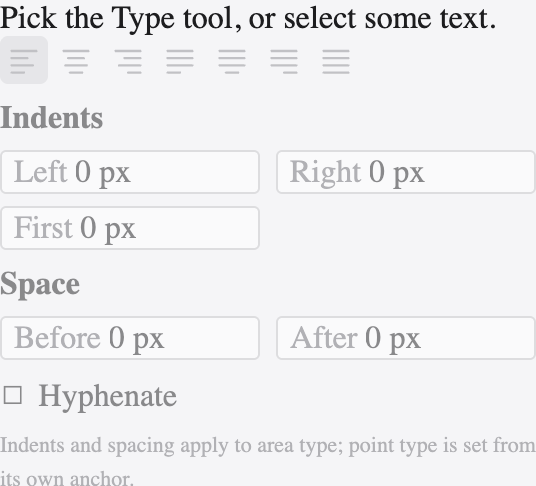
Paragraph settings apply to whole paragraphs at once. Pick an alignment — left, centred, right or one of the justified options — and set the indents for the left edge, the right edge and the first line. Add space before and after to open the text up, and turn on hyphenation to let long words break at the margin.